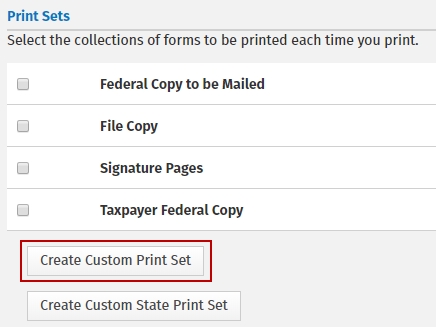
If the default of printing one copy of each form, schedule, worksheet, statement, scratch pad, and client letter does not meet your business requirements, you can create a custom print set for your Federal forms.
To create a custom print set, use the following steps:


You can select a range of forms by holding the Shift key while selecting.
Once the desired 'set' of forms is displayed in the Selected Forms window, you can determine how many copies of each form to print by selecting the form(s) and clicking +1 Copy to add copies or -1 Copy to subtract copies. You can also change the print order of your forms by selecting the desired form(s) and clicking  or
or  to move the selected form(s) higher or lower in the print order.
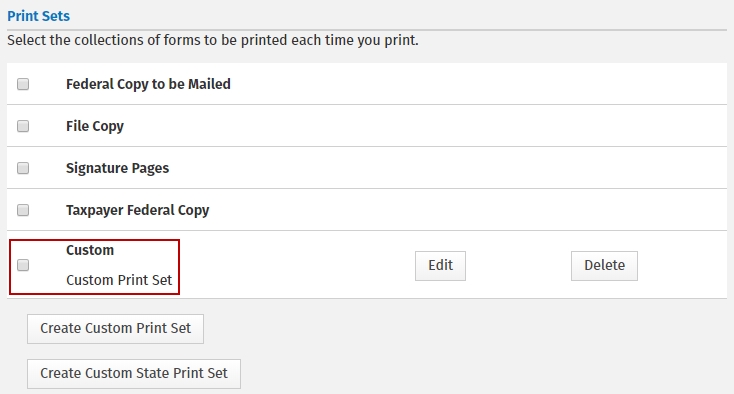
The Print Sets dialog will now show another option for printing:

The ERO Defined custom print set can be edited at any time by clicking the Edit button.
See Also: